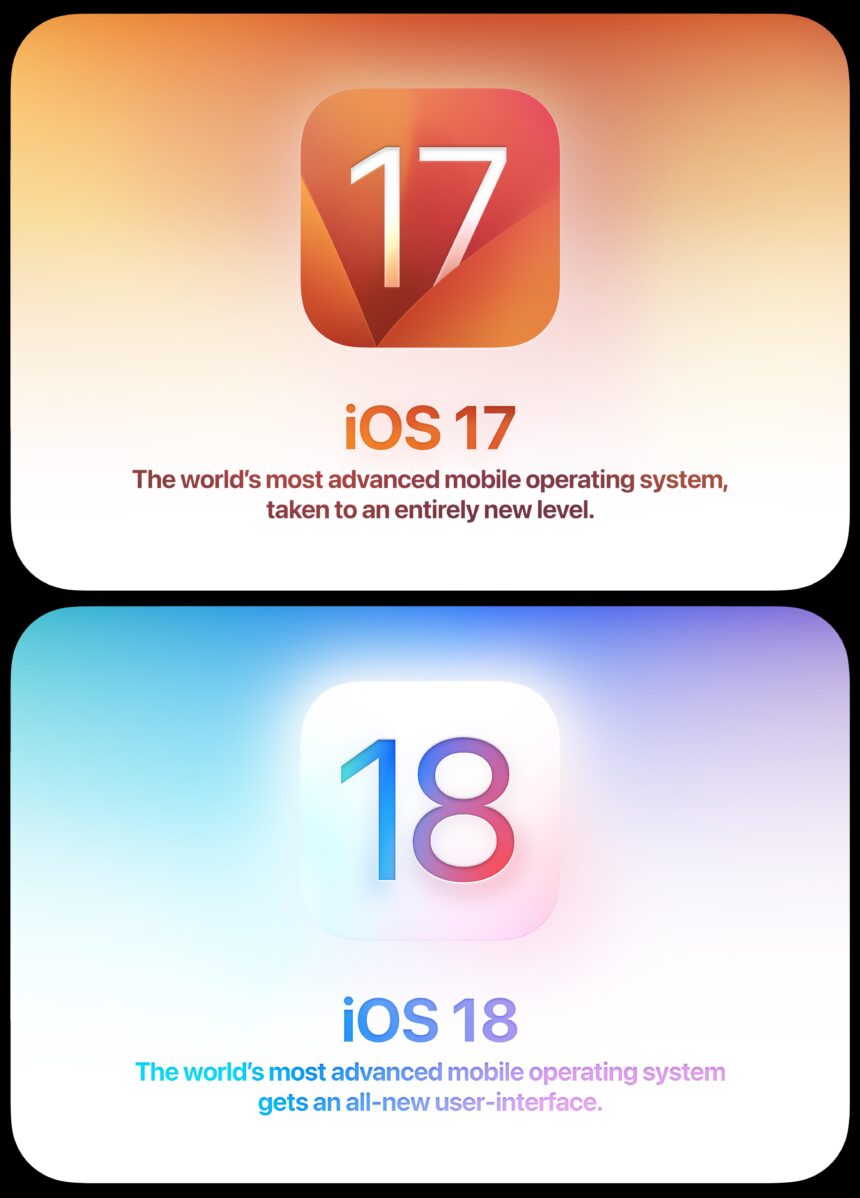
Upgrading to a new iOS version can be exciting, but sometimes the latest update may come with bugs or features that don’t work well for you. If you’ve upgraded to iOS 18 and are experiencing issues, you might want to roll back to iOS 17. This guide will walk you through the process of downgrading from iOS 18 to iOS 17 without losing your data.
Why Downgrade from iOS 18 to iOS 17?
There are several reasons why you might want to downgrade from iOS 18 to iOS 17:
- Stability Issues: iOS 18, especially in its beta form, may have bugs and stability issues that can affect your device’s performance.
- Battery Drain: New updates can sometimes cause increased battery drain, which can be frustrating.
- Compatibility: Some apps or features you rely on may not work correctly with iOS 18.
- Personal Preference: You might simply prefer the user experience of iOS 17.
Preparing for the Downgrade
Before you start the downgrade process, it’s crucial to prepare your device to ensure you don’t lose any important data.
Backup Your Data
Since you cannot restore data from a backup created on a beta release, it’s recommended to manually back up your data on iCloud or other cloud services. This way, you can restore your data once you downgrade to iOS 17.
Download the iOS 17 IPSW File
You’ll need the iOS 17 IPSW file for your specific device model. You can download this file from various websites that host IPSW files. Make sure to download the correct file for your device.
How to Downgrade from iOS 18 to iOS 17
Follow these steps to downgrade your iPhone from iOS 18 to iOS 17:
Step 1: Put Your iPhone in Recovery Mode
To start the downgrade process, you’ll need to put your iPhone in recovery mode. Here’s how:
- For iPhone 8 and later: Quickly press and release the Volume Up button, then quickly press and release the Volume Down button. Finally, press and hold the Side button until you see the recovery mode screen.
- For iPhone 7 and 7 Plus: Press and hold the Volume Down and Sleep/Wake buttons simultaneously until you see the recovery mode screen.
- For iPhone 6s and earlier: Press and hold the Home and Sleep/Wake buttons simultaneously until you see the recovery mode screen.
Step 2: Connect Your iPhone to Your Computer
Once your iPhone is in recovery mode, connect it to your computer using a USB cable. Open iTunes (on Windows or macOS Mojave and earlier) or Finder (on macOS Catalina and later).
Step 3: Restore Your iPhone
In iTunes or Finder, you should see a message saying that your iPhone is in recovery mode and needs to be restored. Hold down the Option key (on Mac) or the Shift key (on Windows) and click on the “Restore iPhone” button. Select the iOS 17 IPSW file you downloaded earlier.
Step 4: Wait for the Restore Process to Complete
The restore process can take some time, so be patient. Your iPhone will restart several times during the process. Once the restore is complete, your iPhone will be running iOS 17.
Restoring Your Data
After downgrading to iOS 17, you can restore your data from the backup you created earlier. Follow these steps:
Restore from iCloud Backup
During the setup process on your iPhone, choose to restore from an iCloud backup. Sign in to your iCloud account and select the backup you created before downgrading.
Restore from Other Cloud Services
If you used other cloud services to back up your data, download the respective apps from the App Store and sign in to restore your data.
Common Issues and Troubleshooting
Here are some common issues you might encounter during the downgrade process and how to troubleshoot them:
iPhone Stuck in Recovery Mode
If your iPhone gets stuck in recovery mode, try the following:
- Disconnect your iPhone from the computer.
- Press and hold the Side button (or the Sleep/Wake button) until your iPhone restarts.
- If the issue persists, try using a different USB cable or port.
Restore Process Fails
If the restore process fails, ensure that you have the correct iOS 17 IPSW file for your device. Also, make sure your computer is running the latest version of iTunes or macOS.
“The only way to do great work is to love what you do.”
Steve Jobs
Final Thoughts
Downgrading from iOS 18 to iOS 17 can be a bit of a hassle, but it’s worth it if you’re experiencing issues with the latest update. By following the steps outlined in this guide, you can successfully roll back to iOS 17 and enjoy a more stable and reliable user experience.
Remember to always back up your data before performing any major software changes to avoid losing important information. If you encounter any issues during the downgrade process, don’t hesitate to seek help from Apple Support or visit an Apple Store for assistance.


